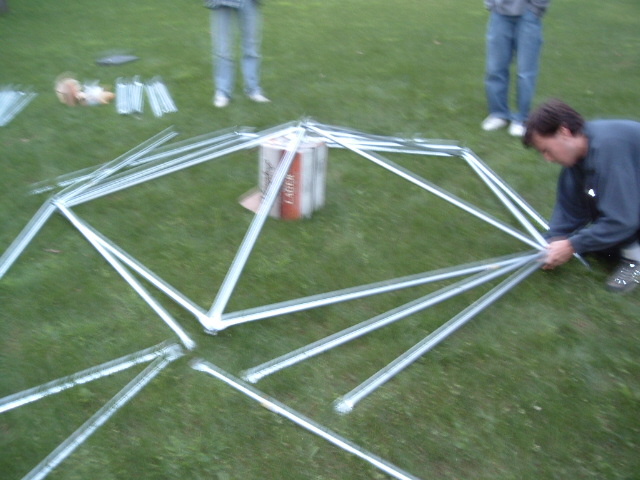
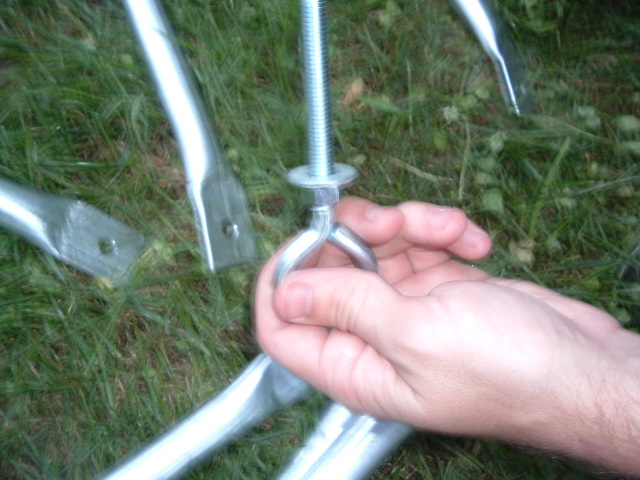
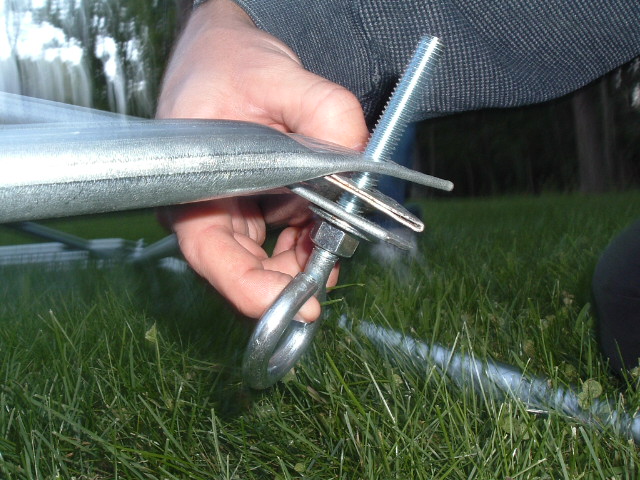
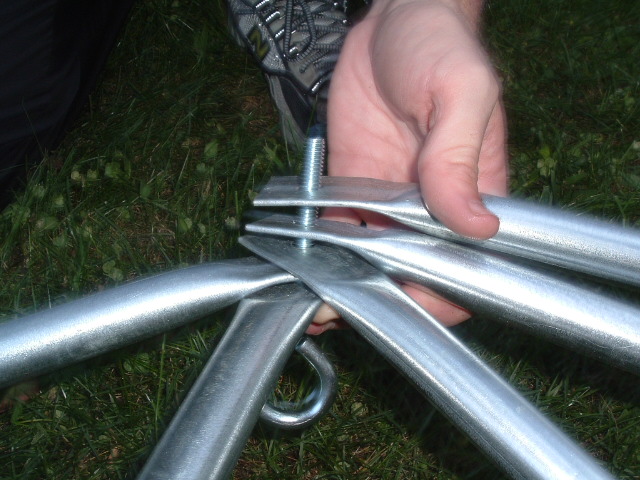
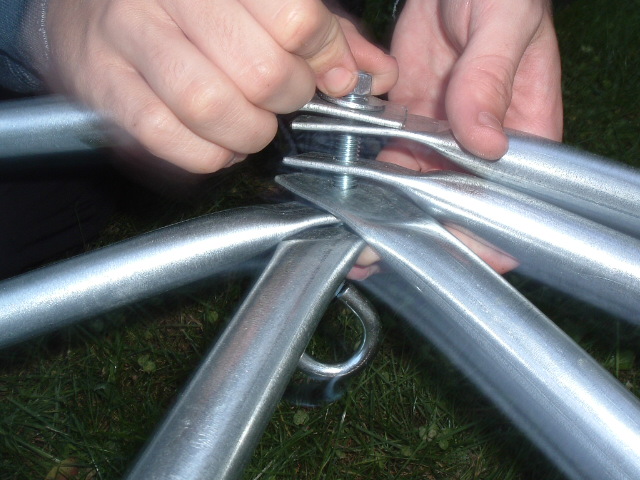
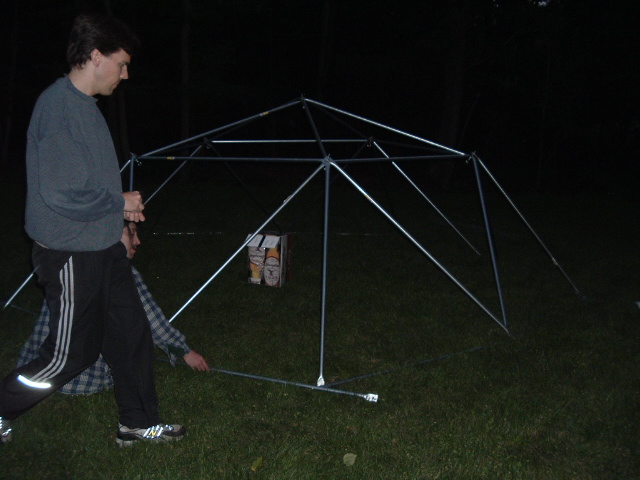
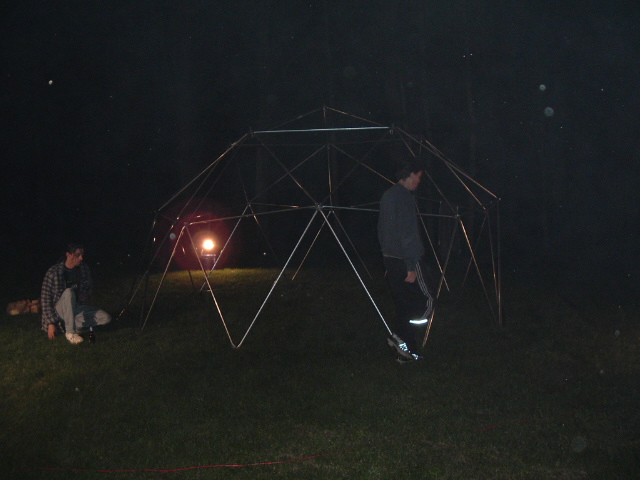
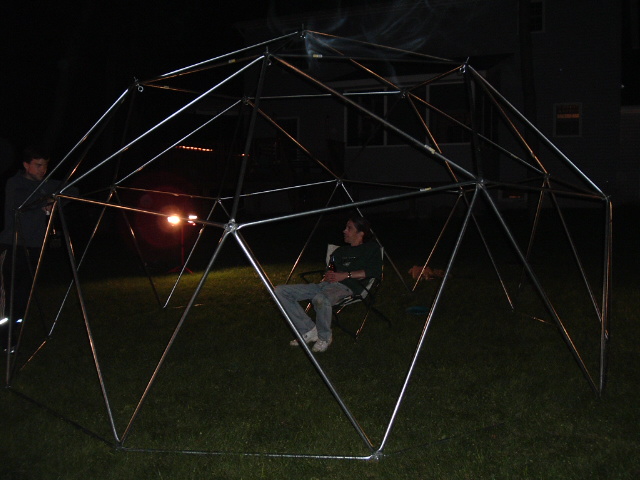
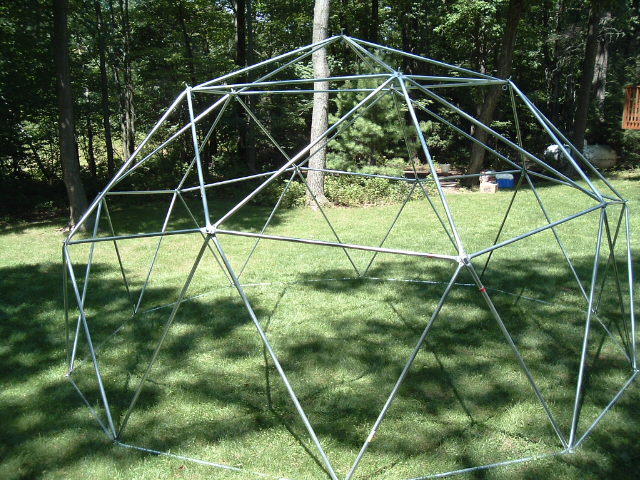
Assembly
If you want clear, cool, 3D, computer modeled instructions on how to assemble the dome, don't look below... check out Tamara Munzner's web site.  Here are my pictures and notes about the process.

  • 35 bolts, 3 inch long, 3/8 inch diameter, hex head, steel, no thread gap... These were unusually hard to find.  The eye-bolts shown below were a little more expensive, but I like them better because things can easily be hung from the inside.
  • 35 nuts, which fit the bolts
  • 60 washers, which fit the bolts

Start with the top...

Eye-bolts are particularly handy...

You might think shorter bolts will do, but there's a lot of layers and you want to assemble the dome loose.

The layers add up... don't tighten until the very end.

More layers...

The bolt should be loose... the dome becomes rigid based on it's weight... tighten the bolts at the end.

Try not to overbend the ends...

When the dome starts to take shape, people may begin to sit inside... do not be distracted by these nuts.

People like being around geodesic domes... it's part of the allure. Fire pits are helpful to the dome building process.

People will go nuts as it all comes together... STAY FOCUSED!

When they start to sit down in the dome and meditate, you know you are getting somewhere.

Nighttime-dome

Daytime-dome (before spray-painting the ends)

Playa-dome

© 2004 Ben Burton